
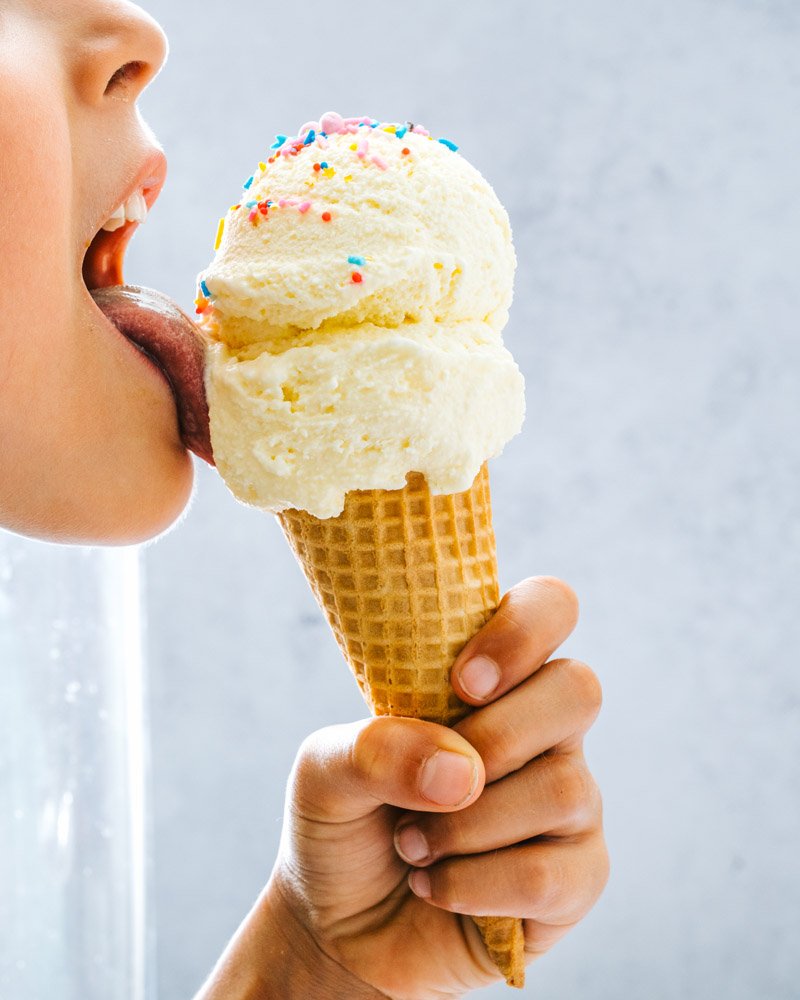
Here’s how to make the best homemade vanilla ice cream recipe! It has the perfect creamy texture and a smooth, rich flavor.
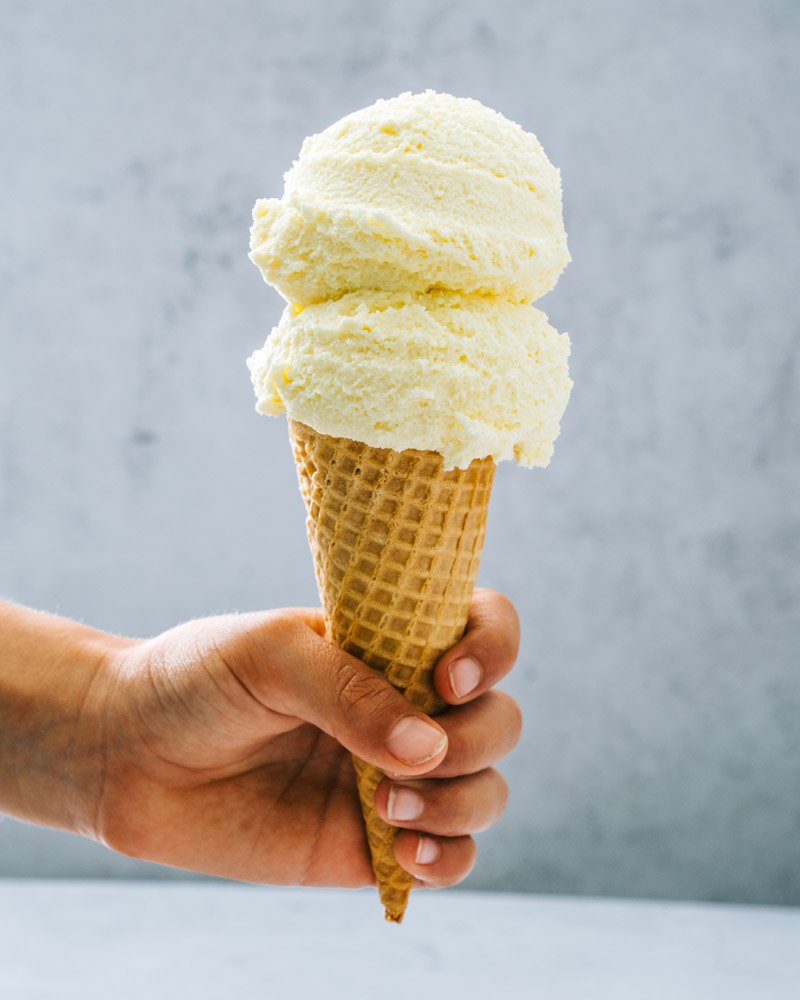
Exactly this better vanilla ice cream in the world? Self-made. We set out to create an excellent recipe using the traditional pudding method and let’s just say: This vanilla ice cream recipe rivals any gourmet brand you can find at the store. The frosted pudding has a deliciously creamy mouthfeel with perfect sweet vanilla notes and rich undertones. The texture stays creamy in the freezer for days (a feat for homemade!) I’ll admit it: I’m not really a fan of vanilla ice cream. But this one is absolute transcendental.
Ingredients for vanilla ice cream
This vanilla ice cream recipe uses the classic French pudding method. That means you need eggs in addition to dairy to achieve a deliciously thick texture. It’s a bit like a science experiment where each ingredient has a specific purpose. Here’s what you need:
- whole milk: Whole milk is the key to creaminess: Milk fat keeps things creamy when frozen instead of icy.
- whipped cream: The cream in equal amounts balances the milk: it’s just enough to be creamy, but not too rich.
- egg yolk: Egg is traditionally used in French ice cream to enhance thick texture.
- cornstarch: The cornstarch thickens the pastry cream even more and gives a silky texture when spooned.
- granulated sugar: Granulated sugar is the best sweetener for the job; Don’t be tempted to substitute alternative sweeteners here.
- Salt: Salt enhances and brightens the taste, just like salty foods.
- vanilla extract: The vanilla bean is often used in vanilla ice cream recipes, but the cost can be prohibitive. This recipe has just enough flavor with the extract.
Materials needed to make vanilla ice cream
You will need an ice cream maker for this recipe: however, it is a good investment that will allow you to make sorbets, sorbets and ice cream all year round! Otherwise there is only one optional equipment. Here’s what you need:
- Find a quality ice cream maker. Here it is 2 liter freezer bowl ice maker we use. It is very durable and has stood the test of time over the years. We have that too automatic ice machineThis is larger and more expensive, but easier to use since it doesn’t require pre-freezing.
- Food thermometer: It’s not necessary for this recipe, but a food thermometer is useful for measuring the temperature of the pudding. If you don’t have one, follow the recipe’s visual and timing cues and it works just as well.
Tips for working with an ice cream maker
Ice cream makers are easy to use, but you need to know a few tips when using them for the first time. Here’s what you need to know:
- For freezer bowl ice cream makers, freeze the base beforehand. Be sure to freeze the ice cream maker base overnight before making this recipe. If you forget, try freezing the base for at least 4 hours. Give it a shake, and if you still hear liquid, it’s not completely frozen: freeze for another hour or two, until firm.
- Automatic ice machines do not require prior freezing. They are quite large and require quite a lot of storage space. But they make up for it with their ease of use: no need to anticipate! You can also create more than one back-to-back flavor of ice cream (while using the freezer bowl maker you have to refreeze the bowl).
Basic steps for a vanilla ice cream recipe
Once you have your required gear, let’s make vanilla ice cream! You can jump to the recipe below when you’re ready to go. Otherwise, here is an overview of the basic steps involved in making ice cream. This applies to any classic custard ice cream:
- Make the pastry cream (10 to 15 minutes): Simmer the milk, heavy cream, and salt for 4-5 minutes, being careful not to boil. Whisk some of the hot milk mixture with the egg yolk and sugar, then stir in the cornstarch (dissolved in a little milk beforehand). Return to the milk mixture and heat until thickened, 6-7 minutes. Stir in the vanilla.
- Refrigerate the pudding (30 minutes, 1 hour or 3 hours): Cool the cream before whipping it. You can do this a few ways: the quickest is to pour it into a 1-gallon ziplock bag, seal, and place the bag in ice water for 30 minutes. Or you can transfer the mixture to a large metal or glass bowl and place the bowl in a smaller bowl of ice water for 1 hour. Alternatively, simply place the bowl in the fridge and wait 3 hours or until the temperature drops to 40 degrees Fahrenheit.
- Churn (25 minutes): Then whip the ice cream in the ice cream maker. After 25 minutes there is a soft texture that you can eat right away.
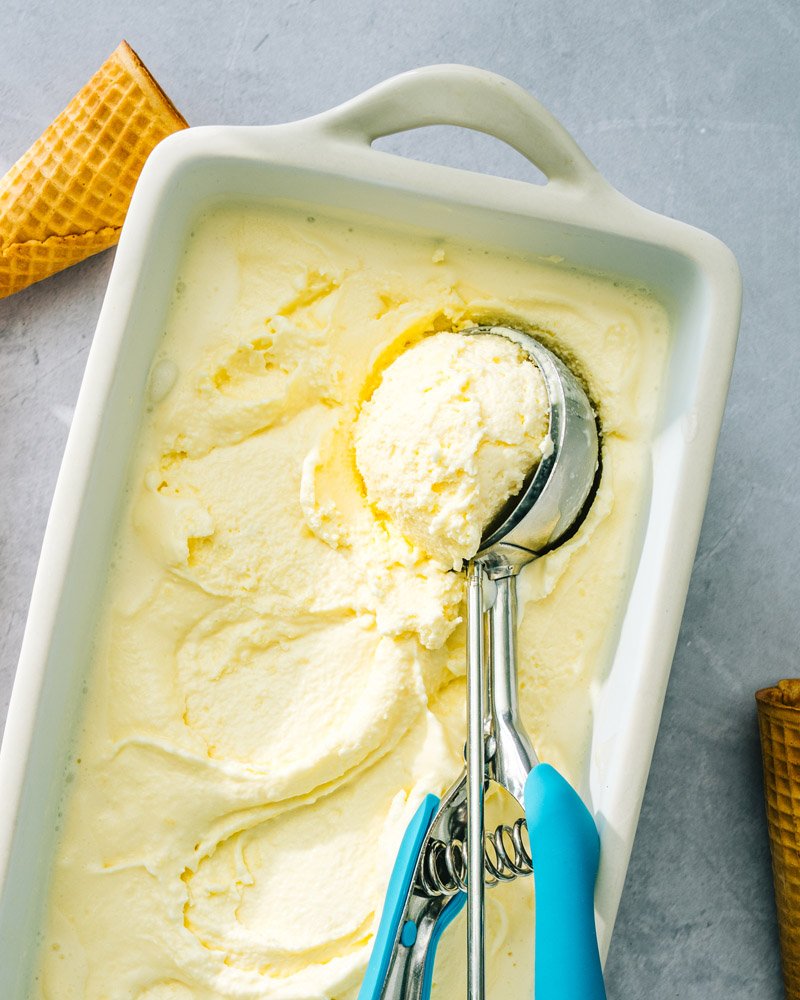
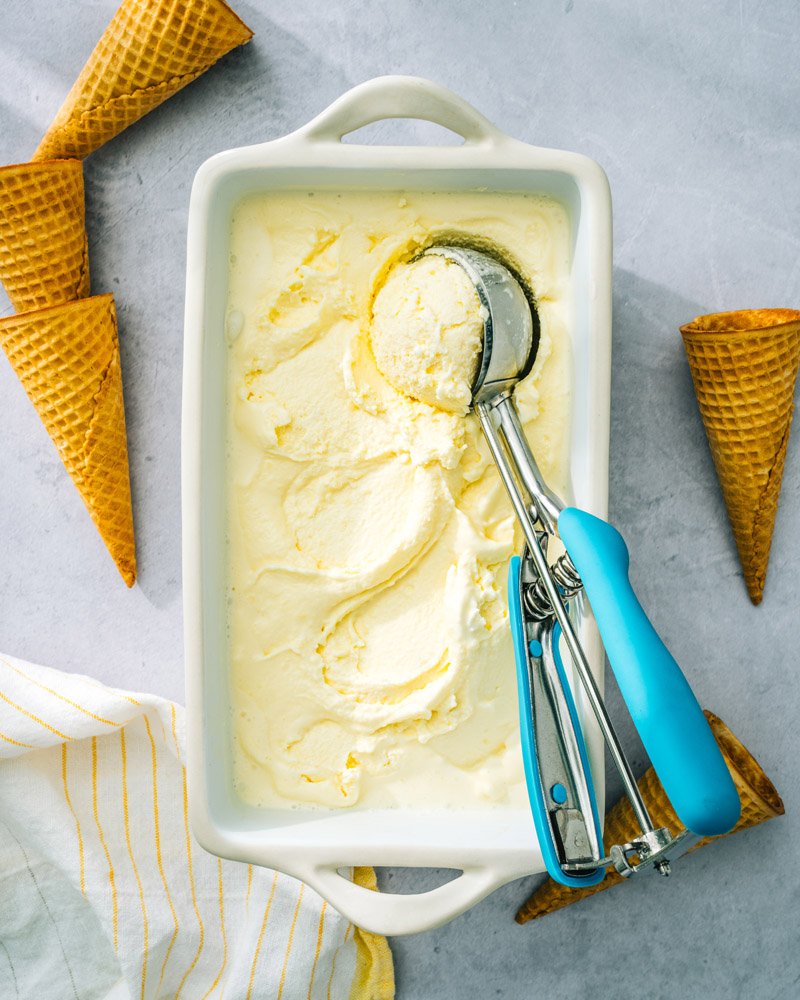
- Freezing to get a hard ice cream texture (at least 2 hours): Or freeze the ice cream for 2 hours to get a spoon-hard ice cream texture (as shown in the photos).
Storage for homemade vanilla ice cream
How long does homemade vanilla ice cream last? Because it doesn’t contain any preservatives or additives, you can’t leave it in the freezer for months. This vanilla ice cream recipe has a shelf life of 2 weeks (or longer). Place in a loaf tin with a sheet of parchment paper on top, or just place in an airtight container. The texture is deliciously creamy throughout the storage time, not icy like other methods. That’s why heating the pudding is so important!
More frozen desserts
Would you like to use your ice cream machine for more delicacies? Here are some of our favorite ideas:
This recipe for vanilla ice cream is…
Vegetarian.
The description
Here’s how to make the best homemade vanilla ice cream recipe! It has the perfect creamy texture and a smooth, rich flavor.
- 2 cups + 2 tablespoons Whole milk, divided
- ½ tbsp cornstarch
- 4 egg yolk
- 1 cup granulated sugar
- 2 cups whipped cream
- ⅛ teaspoon Salt
- 1 tbsp vanilla extract
- Combine 2 tablespoons whole milk with the cornstarch in a small bowl and stir to dissolve. Put aside. In a large bowl, beat the egg yolks well, then stir in the sugar.
- In a saucepan, combine the 2 cups whole milk, heavy cream, and salt. Heat over medium-high heat, stirring frequently, until smoking but not bubbling (and reading 180 degrees on a food thermometer*), 4-5 minutes. Make sure it doesn’t boil.
- turn off the fire While whisking, pour some of the milk mixture into the yolks and sugar, making sure to rise slowly so the yolk doesn’t curdle. Continue beating and slowly add 2 more scoops of the milk mixture. Then stir in the cornstarch mixture.
- Slowly whisk the egg yolk mixture into the pan with the remaining milk and cream. Heat over medium-low heat, not simmering, until thickened (do not exceed 170 degrees Fahrenheit) for 6-7 minutes. Incorporate vanilla extract.
- Place the mixture in a large metal or glass bowl. Set the bowl in a small bowl of ice water for an hour, being careful not to splash water into the pudding (or even quicker, you can pour it into a 1-gallon ziplock bag, seal it, and put the bag in ice water for 30 minutes). Alternatively, simply place the bowl in the fridge and wait 3 hours or until the temperature drops to 40 degrees Fahrenheit.
- Mix according to your ice cream maker’s instructions for about 25 minutes to achieve a smooth consistency. For a hard textured ice cream, place in a loaf pan or airtight container and freeze in the freezer for at least 2 hours (or up to 4 hours). Store in a parchment-lined loaf tin or in an airtight container for up to 2 weeks.
Remarks
*A food thermometer is not required; Use visual and timing cues when you don’t have them. However, the most accurate recipe will help: use the temperatures given in parentheses.
- Category: Dessert
- Method: Frozen
- Kitchen: American
- Diet: vegetarian
Keywords: Vanilla Ice Cream. Vanilla Ice Cream Recipe, Homemade Vanilla Ice Cream


