
How to make the best homemade fries you’ve ever tasted! This method is better than no-fry fries at the restaurant.
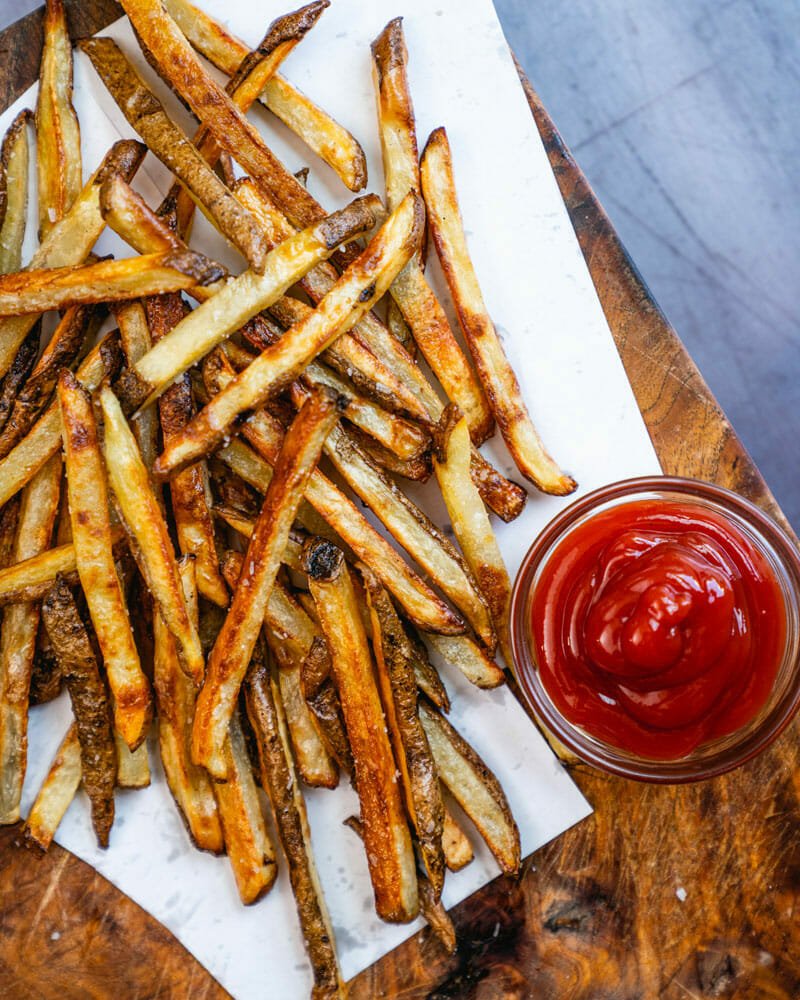
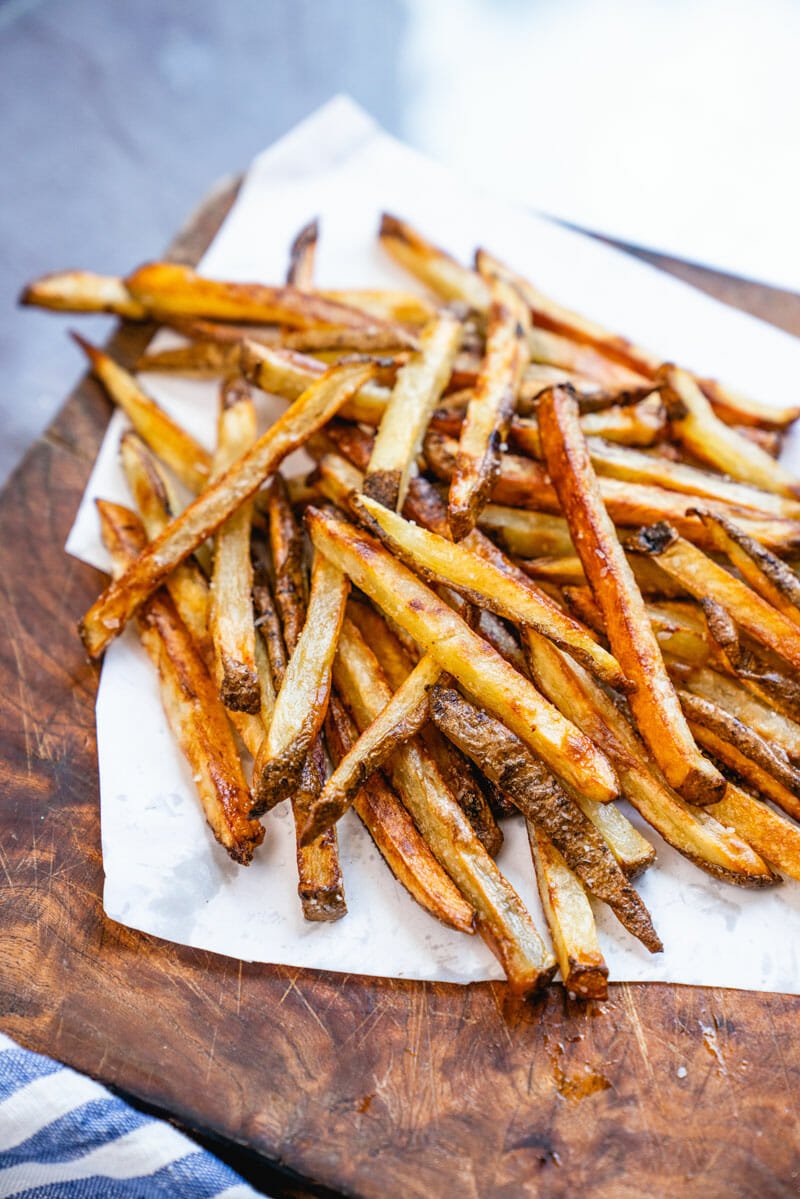
Would you like to prepare fries in the comfort of your own home, just like in a restaurant? Let’s go. This homemade fries are everything a fries should be: crispy on the outside, flaky on the inside and perfectly salty. It’s like they’ve been fried, but we have a secret. These are even better than deep fried, without the hassle and mess of deep frying. It’s our master method for making the best homemade fries in the universe. It takes a little while but the taste you get is unreal.
Want a slightly easier method? Try the Perfect Seasoned Fries or the Ultimate Baked Fries.
How to make homemade fries: the secret!
This homemade fries recipe uses a secret way to get that fried flavor…without the frying. Alex and I spent a lot of time trying different methods of making french fries. The frying method made fries that were like this: and it was a bit painful. So we found our own way to get fries that are perfectly crispy on the outside and tender on the inside. Here are our secrets:
- Soak the fries (10 minutes). This will make the interior perfectly soft. You can do this while preheating the oven.
- Bake the fries (30 minutes). This will make the outside crispy.
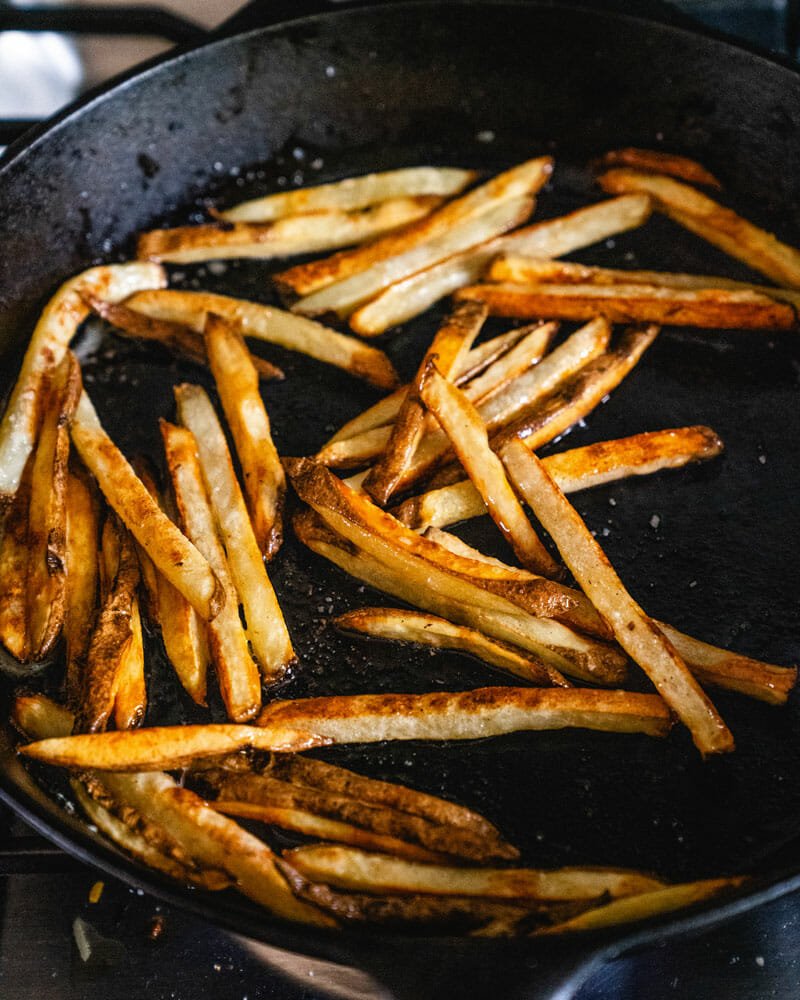
- Fry the fries (2 minutes). A quick pan fry locks in the crispiness and adds restaurant-style texture and flavor!
When we compared baked fries to baked and pan fried fries, the added step of frying beat them! It takes an extra pan and a few extra minutes, but it’s totally worth it.
Also try: Bistro style french fries
How to cut french fries by hand
One Key to Homemade Fries: Learn How to Cut French Fries! Once you know the method, cutting is easy. Here’s what you need to know – and watch this video if you learn best by watching.
- Cut off ends: Cut off the ends of each potato, then cut off part of the side to form a bottom.
- Make a 3/8 inch disc: Place the half cut potato side down and cut a 3/8 inch disc.
- Cut the slice into strips: Then set the slice on its side and cut into several long, 3/8 inch wide strips. Repeat until all the potatoes are cut into fries!
Shortcut: Use a french fries cutter
This is only recommended if you are making a lot of fries. (We do!) But you can get a restaurant-style french fries cutter to speed up the process! It cuts fries in literally 1 second. It’s very efficient: the only downside is storage space for a disposable device. This is ideal for cooking nerds or an interesting gift. This is the fries cutter we’re going to use.
Why do the 10-minute cold bath?
These homemade fries need to be soaked in cold water for 10 minutes before cooking. Alex and I tested undipped and dipped fries back-to-back, and the dipped fries won every time. Why?
- Soaking the fries softens the inside. The inside gets fluffier, like you’re used to from a restaurant-style skillet. (Restaurants use this method).
- Time saver: You can dip while the oven is preheating! You won’t waste time with the recipe because you can soak during the preheating time. Don’t skip this step!
Tips for cooking homemade fries
There are few things to consider when cooking homemade fries! Here’s what you need to know:
- Place the oven racks. In our oven, the bottom rack is much hotter than the top. Space your oven racks evenly and rotate your pans between them to ensure more even cooking.
- Spread the fries as far apart as possible. This allows for the best airflow between the fries, resulting in crispy fries. If the pan is too full, you’ll end up with soft, mushy fries.
Season AFTER the pan!
Here’s one important thing to remember about this homemade fries recipe. The magical step in the frying pan after cooking propels them to supreme epic status. But you should know this caveat:
- Oven fries that you season before cooking. That cooks up in those tasty spices and salt. But…
- Frying after cooking reduces flavors: season AFTER cooking! After frying, add the salt (and other seasonings if desired). Since they are lightly oiled at this point, the spices will stick to them. Use salt or fortify them with french fries seasoning.
If you choose to skip the pan step, you will need to season the fries before cooking. Go to Perfect Seasoned Fries and follow the method there!
Serve homemade fries immediately (plus warming up tip)
As you can see, homemade fries take time and love to prepare. Only do them if you have enough time! But you’ll find they’re definitely worth it for this treat. Here’s the thing: They’re best when they come out of the oven. They will become less crispy (and flavorful) as they cool. So be sure to eat them while they’re still hot!
You can also reheat your fries if you have leftovers and they get cold. Simply place them on the baking sheet and heat in a 350 degree oven until crispy.
This recipe for homemade fries is…
Vegetarian, vegan, plant-based, dairy-free and gluten-free.
The description
How to make the best homemade fries you’ve ever tasted! This method is better than no-fry fries at the restaurant.
- 2 large red potatoes (1 1/2 to 1 3/4 Pound Sterling)*
- 2 tablespoons olive oil
- 1½ tablespoons olive oil
- 1 tbsp neutral oil
- 1 tbsp butter (or more oil, for vegans)
- Kosher salt
- Preheat the oven to 425 degrees Fahrenheit. Space oven racks evenly to ensure even baking.
- Meanwhile, cut the potatoes into fries: (Watch this video or use a chip cutter.) Wash the potatoes, leaving the skin on. Cut off the ends of each potato, then cut off part of the side to form a bottom. Lay the half-cut potato side down and slice a 3/8-inch slice, then set the slice on its side and cut into several long strips. Repeat until all potatoes are cut into fries. The pieces may be uneven, but aim for as uniform a thickness as possible. Watch the video for the full instructions!
- Soak in cold water (10 minutes): Place the sliced fries in a medium bowl and rinse under cold water until the water runs clear. Then fill the bowl with cold water and leave for 10 minutes (while the oven preheats). Then drain the potatoes and pat dry with a clean towel.
- Mix with olive oil (season after frying**): Place the fries in a dry bowl and toss with the olive oil. Line two baking sheets with parchment paper. Spread the fries out on the paper in straight lines and space them as widely as possible.
- Bake: Bake fries for 20 minutes. Remove from the oven and gently flip each fries. Return to oven (turning pans on top and bottom racks). Cook for a further 8-10 minutes until crisp and golden brown, being careful to cook time depends on the thickness of the skillet and your oven. (If the majority of the fries appear soft, continue cooking for a few more minutes.)
- Fry the fries: Heat the neutral oil and butter in a cast-iron skillet or Dutch oven over medium-high heat. When the fries are cooked, add half the fries to the pan and fry, turning several times, until crisp and golden brown, 1 minute. Place on a paper towel-lined sheet and sprinkle generously with salt (or fries seasoning). Repeat with the other half of the fries.
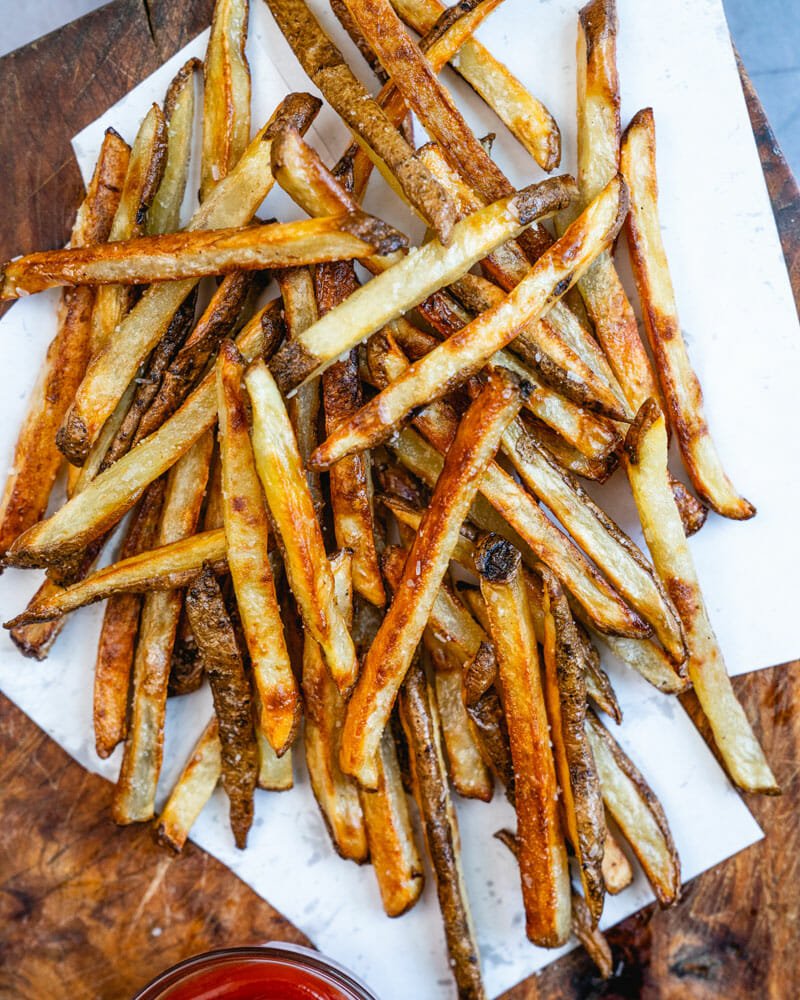
- Taste and add a few pinches of salt if you like. Serve immediately for the best texture and flavor.
Remarks
*That makes a good amount of fries, but a lot less than a restaurant serving (it’s as expected!). The largest amount of fries that will fit on two baking sheets is 2 pounds, you can increase this amount if needed (adjust seasonings accordingly).
**If you choose to skip the pan frying step, you will need to season before cooking. Go to Perfectly Seasoned Fries.
- Category: garnish
- Method: Cooked
- Kitchen: American
- Diet: vegetarian
Keywords: french fries at home, how to make french fries, french fries, recipe for french fries


