
This dill bean recipe is packed with tangy flavor and a hint of dill! It’s quick and easy to make a jar of pickled green beans.
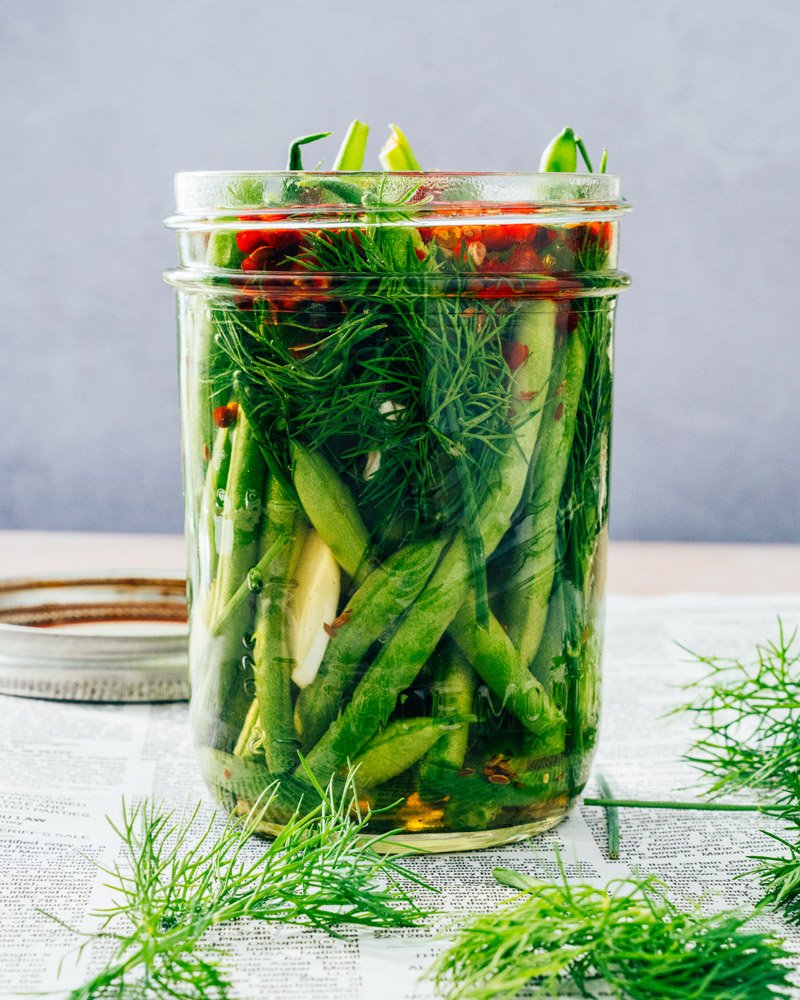
Are you a cucumber lover? Here’s a jar you’ll fall for: Dilly beans! These thin and crispy pickled green beans have a vinegary herbal punch. They are an irresistible treat in a glass and the ideal condiment for a picnic, pitch-in or cheese board. Guess what: this old-school recipe doesn’t even require fancy canning equipment! All it takes is 20 minutes, a jar, and some beans to make this quick pickle recipe — and you’ll be glad you did.
Ingredients for dill beans
Dill beans are pickled green beans tossed with garlic and dill seeds (or fresh dill) that add the flavor of a classic dill pickle. You can use dill beans as a classic canned recipe or as a quick pickles Where Fridge cucumbers, where the glass is stored in the refrigerator immediately after production. Quick pickles don’t require any special canning equipment, so this is our go-to method for homemade pickles. They keep for 1 month in the fridge (but are not durable). What you need to prepare dill beans:
- 1 Wide Mouth Mason Jar
- Green beans: The thinner the better! Look for very fine beans or even French green beans
- Garlic
- Bay leaf
- white wine vinegar
- Sugar
- Salt
- pepper
- dill seeds: No dried dill! (see below)
- fresh dill: You can omit if you like, but we like to use both fresh dill and dill seeds
Dill Seeds Versus Dill: What’s the Difference?
The key to this dill bean recipe? dill seeds. But don’t confuse this with the similar but equally important dried dill! Use dill here and you won’t be able to detect any dill flavor at all. Here’s why:
- dill seeds are small, flat, brown seeds of the dill plant used in canning. The seeds impart a very strong dill flavor to canned food, but are not often used in cooking.
- Dried dill are the dried green leaves and stems of the plant. This spice is often used in cooking (it gives ranch dip its signature flavor). But when used canned, it has a very mild flavor that doesn’t leach into the jar.
How to Make Dill Beans: Basic Steps
This dill bean recipe only takes 20 minutes to assemble the pot. Then refrigerate for 24 hours to get the best flavor and texture. The hardest part about this recipe is the wait! Here are the basic steps (or jump straight to the recipe):
- Cut green beans: Cut the beans to fit in a wide-mouth jar. Add the garlic cloves, bay leaf and fresh dill.
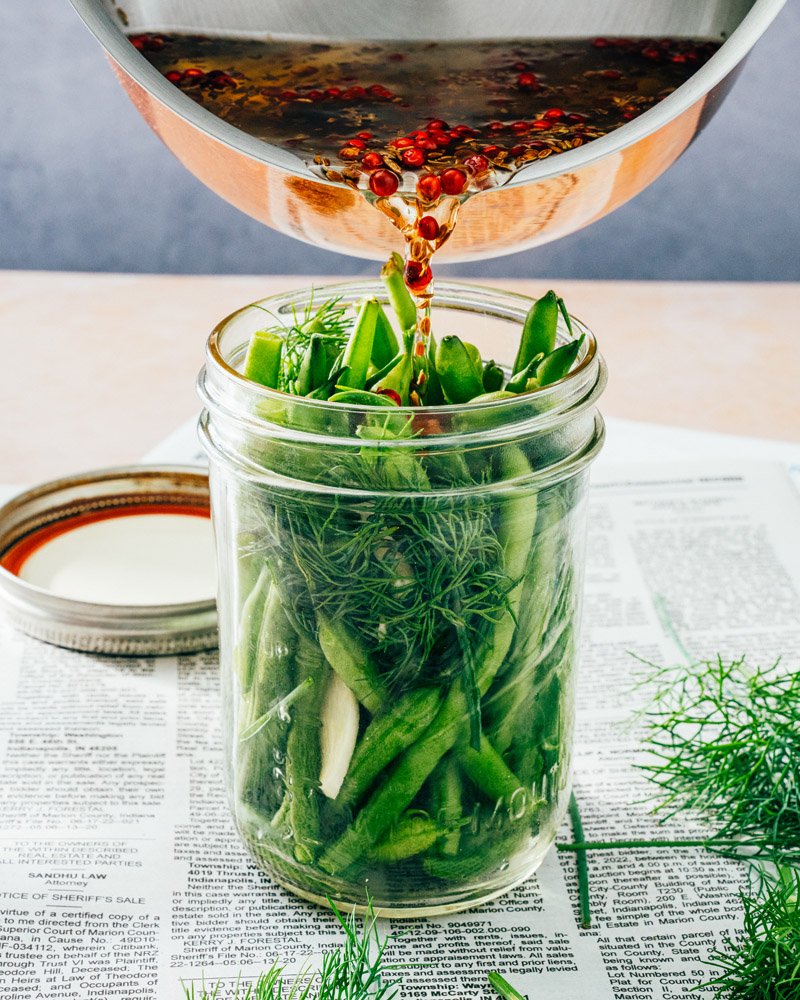
- Bring the ingredients for the brine to a boil: Place white vinegar, water, sugar, salt, peppercorns, and dill seeds in a saucepan and bring to a boil (see recipe below for exact amounts).
- Pour it into the jar and wait for it to cool (about 1 hour).
- Refrigerate for 24 hours. This helps bring flavor into the beans and soften their texture. Very fine or French green beans are best pickled because their flavor is instantly tender and crunchy! Some types of very thick green beans may still taste a little chewy after a day, so you can wait 48 hours if your beans are very thick.
Want to make more than a pint? It’s easy to double or triple this recipe. Go to the recipe below and press the 2x or 3x button next to the word Ingredients.
storage information
How long do dill beans keep? Store homemade dill beans in the fridge for up to 1 month. These types of cucumbers are no durability, so don’t try to keep them in your pantry. Keep them in the fridge and you can eat them for days.
Ways to serve dill beans
We like dill beans straight from the jar best! There are many opportunities
More green bean recipes
do you like green beans Here are some other great green bean recipes to use this flavorful vegetable:
This dill bean recipe is…
Vegetarian, vegan, plant-based, dairy-free and gluten-free.
The description
This dill bean recipe is packed with tangy flavor and a hint of dill! It’s quick and easy to make a jar of pickled green beans.
- 8 ounces green beans (fine or French beans are best)
- 2 Garlic cloves, sliced
- 4 sprigs of fresh dill*
- ½ cup white wine vinegar
- ½ cup the water
- ½ tbsp granulated sugar
- 2 teaspoons kosher salt
- 1 tbsp black peppercorns
- ½ tbsp dried dill seeds* (not dried dill)
- Wash a wide-mouth mason jar and its lid in hot, soapy water. Then rinse and let air dry.
- Trim the green beans to fit inside the jar, leaving about 1/2″ headroom at the top.
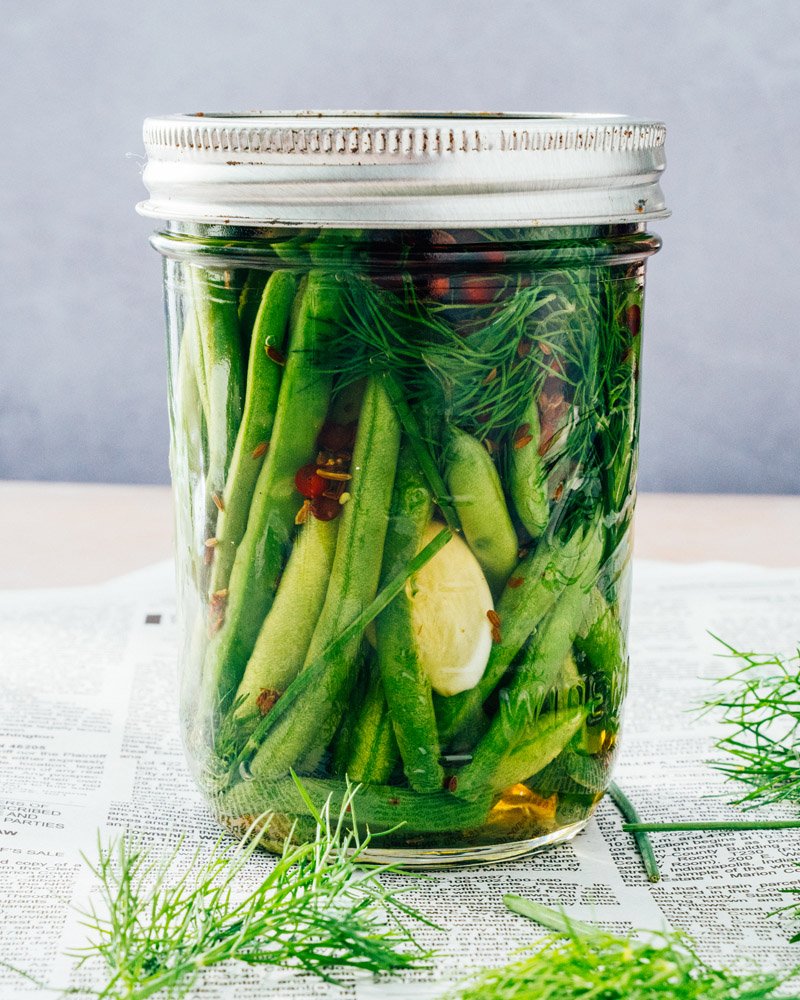
- Place the green beans, garlic, and sprigs of dill in the jar and squeeze as firmly as possible.
- In a small saucepan, combine white vinegar, water, sugar, kosher salt, peppercorns, and dried dill seeds. Bring to a boil, stirring occasionally to dissolve the sugar and salt (this only takes a few minutes).
- After boiling, pour the brine into the jar. Tap the glass on the counter to release air bubbles.
- Discard any leftover brine or fill the jar with additional water if green beans are exposed at the top.
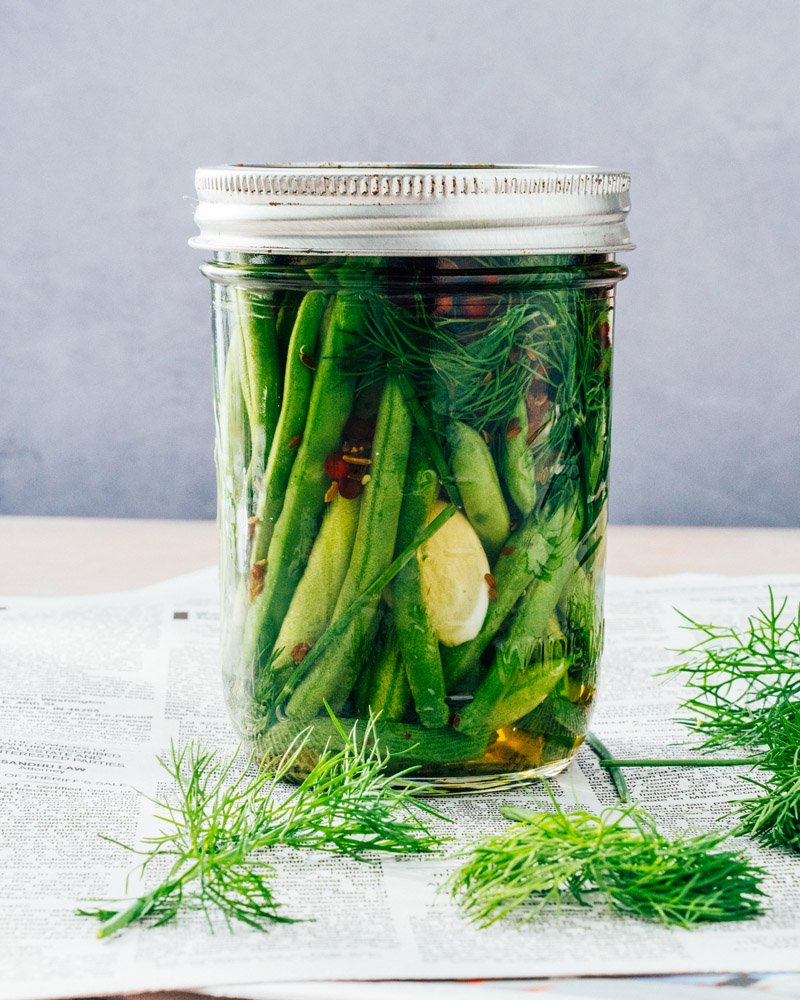
- Screw the lid on tightly and leave to cool at room temperature (about 1 hour). Store in the fridge for 24 hours for best taste. Can be kept in the refrigerator for up to 1 month (this recipe is non-perishable).
Remarks
* Dill seeds are small, flat, brown seeds of the dill plant used in canning. Don’t use dried dill, these are the dried green leaves of the plant. Here we used dill seeds in combination with fresh dill; If you can’t find fresh dill, you can omit it.
- Category: pickles
- Method: stripping
- Kitchen: pickles
- Diet: vegan
Keywords: Dill, dill recipe, dill recipe


